Margin, Border and Padding
Also known as the CSS Box Model
Once you have your HTML sorted, it’s time to open up a CSS file and get styling your content. A useful, if not vital, concept to understand is the CSS Box Model, which is made up of the following CSS properties: margin, border and padding.
Margin
To start, think of every HTML element as being a box on the page, then think of margin as the amount of space that is surrounding your HTML element. You can push an element up, down, left or right on a page, using margin-top, margin-bottom, margin-left or margin-right.
You can use the shorthand property ‘margin’ to apply the same amount of margin to all four sides of your element.
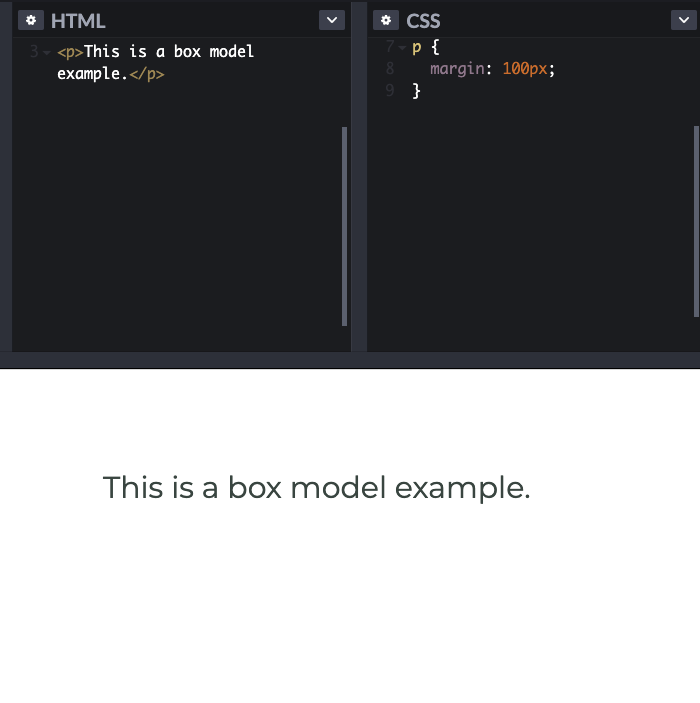
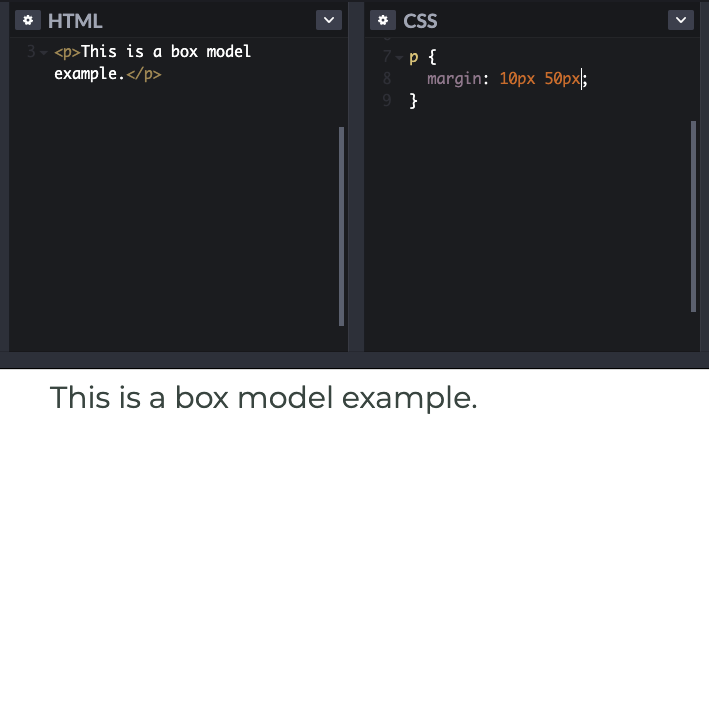
The examples below show the starting element with no CSS applied (Step 1), what the element looks like with 'margin: 100px' applied to it (Step 2), and what the element looks like with 'margin: 2px 4px' applied to it (Step 3).
Step 1:

Step 2:

Step 3:

Border
Border is exactly what you think it is. It is the property that allows you to put a border around your element. It can be styled by using the following properties: border-width (how thick or thin the border is), border-style (the border can be solid, dotted, double, dashed etc.) and border-color.
These three properties can be combined into one property simply called ‘border'. You can then assign the values width, style and color as follows:

Padding
In contrast to margin, padding can be thought of as creating space within your element. This can be hard to distinguish from the margin property without using a background colour or a border on your element, so it can be helpful to apply one or both of these when learning so you can see the difference between the margin and the padding.
For example, if you have a ‘p’ element and apply padding: 40px; you will get a padding on all four sides of the p element, within the border shown in the previous example.

So there you have it. Margin is the space around the element, padding is the space within the element, and border is, well, the border around the element.
Happy coding!